macOS Ventura and the new dyld shared cache system
With the unveiling of macOS Ventura a few weeks ago, Apple did a full clean house on their root volume to try and remove as much bloat in their OS as possible.
Some of these techniques included removing on-disk kernel extensions, as well as adding more architectural-specific differences between Apple Silicon and Intel Macs.
One of these changes was moving the dyld shared cache off the root volume and inside the Preboot volume. This allows for Apple to no longer ship 3 different dyld shared caches, saving the user precious disk space.
- This move additionally allows Apple to more easily handle security updates, as the Signed System Volume is no longer modified to perform general userspace updates. Their marketing term for this is Rapid Security Response, though we’re unlikely to see this active until after the fall release.
Understanding the 3 cache system
So a question you might be wondering is why were there 3 different dyld shared caches in Monterey and below on a single system?
When we look at Monterey’s dyld shared cache, we’ll see 3 different architectures supported:
x86_64- Used by pre-Haswell Intel CPUs, as well as Rosetta 2
x86_64h- Used by Haswell and newer Intel CPUs
arm64e- Used by Apple Silicon CPUs
Here we see that Apple Silicon/Rosetta currently requires the x86_64 cache when it wants to translate Intel binaries. Whereas with Intel, you can easily fit into one of the 2 camps.
- These dyld caches can be found under
/System/Library/dyld/
Ventura cache system
Now with macOS Ventura, let’s take a peek at how they organize themselves. As mentioned with “Rapid Security Response”, the dyld now resides in the Preboot as a disk image labeled OS.dmg. When you boot the OS, Apple will now mount the OS.dmg at /System/Volumes/Preboot/Cryptexes/OS/, and will be seen as a pseudo-overlay to the root volume.
| Apple Silicon Install | Intel Install |
|---|---|
 |
 |
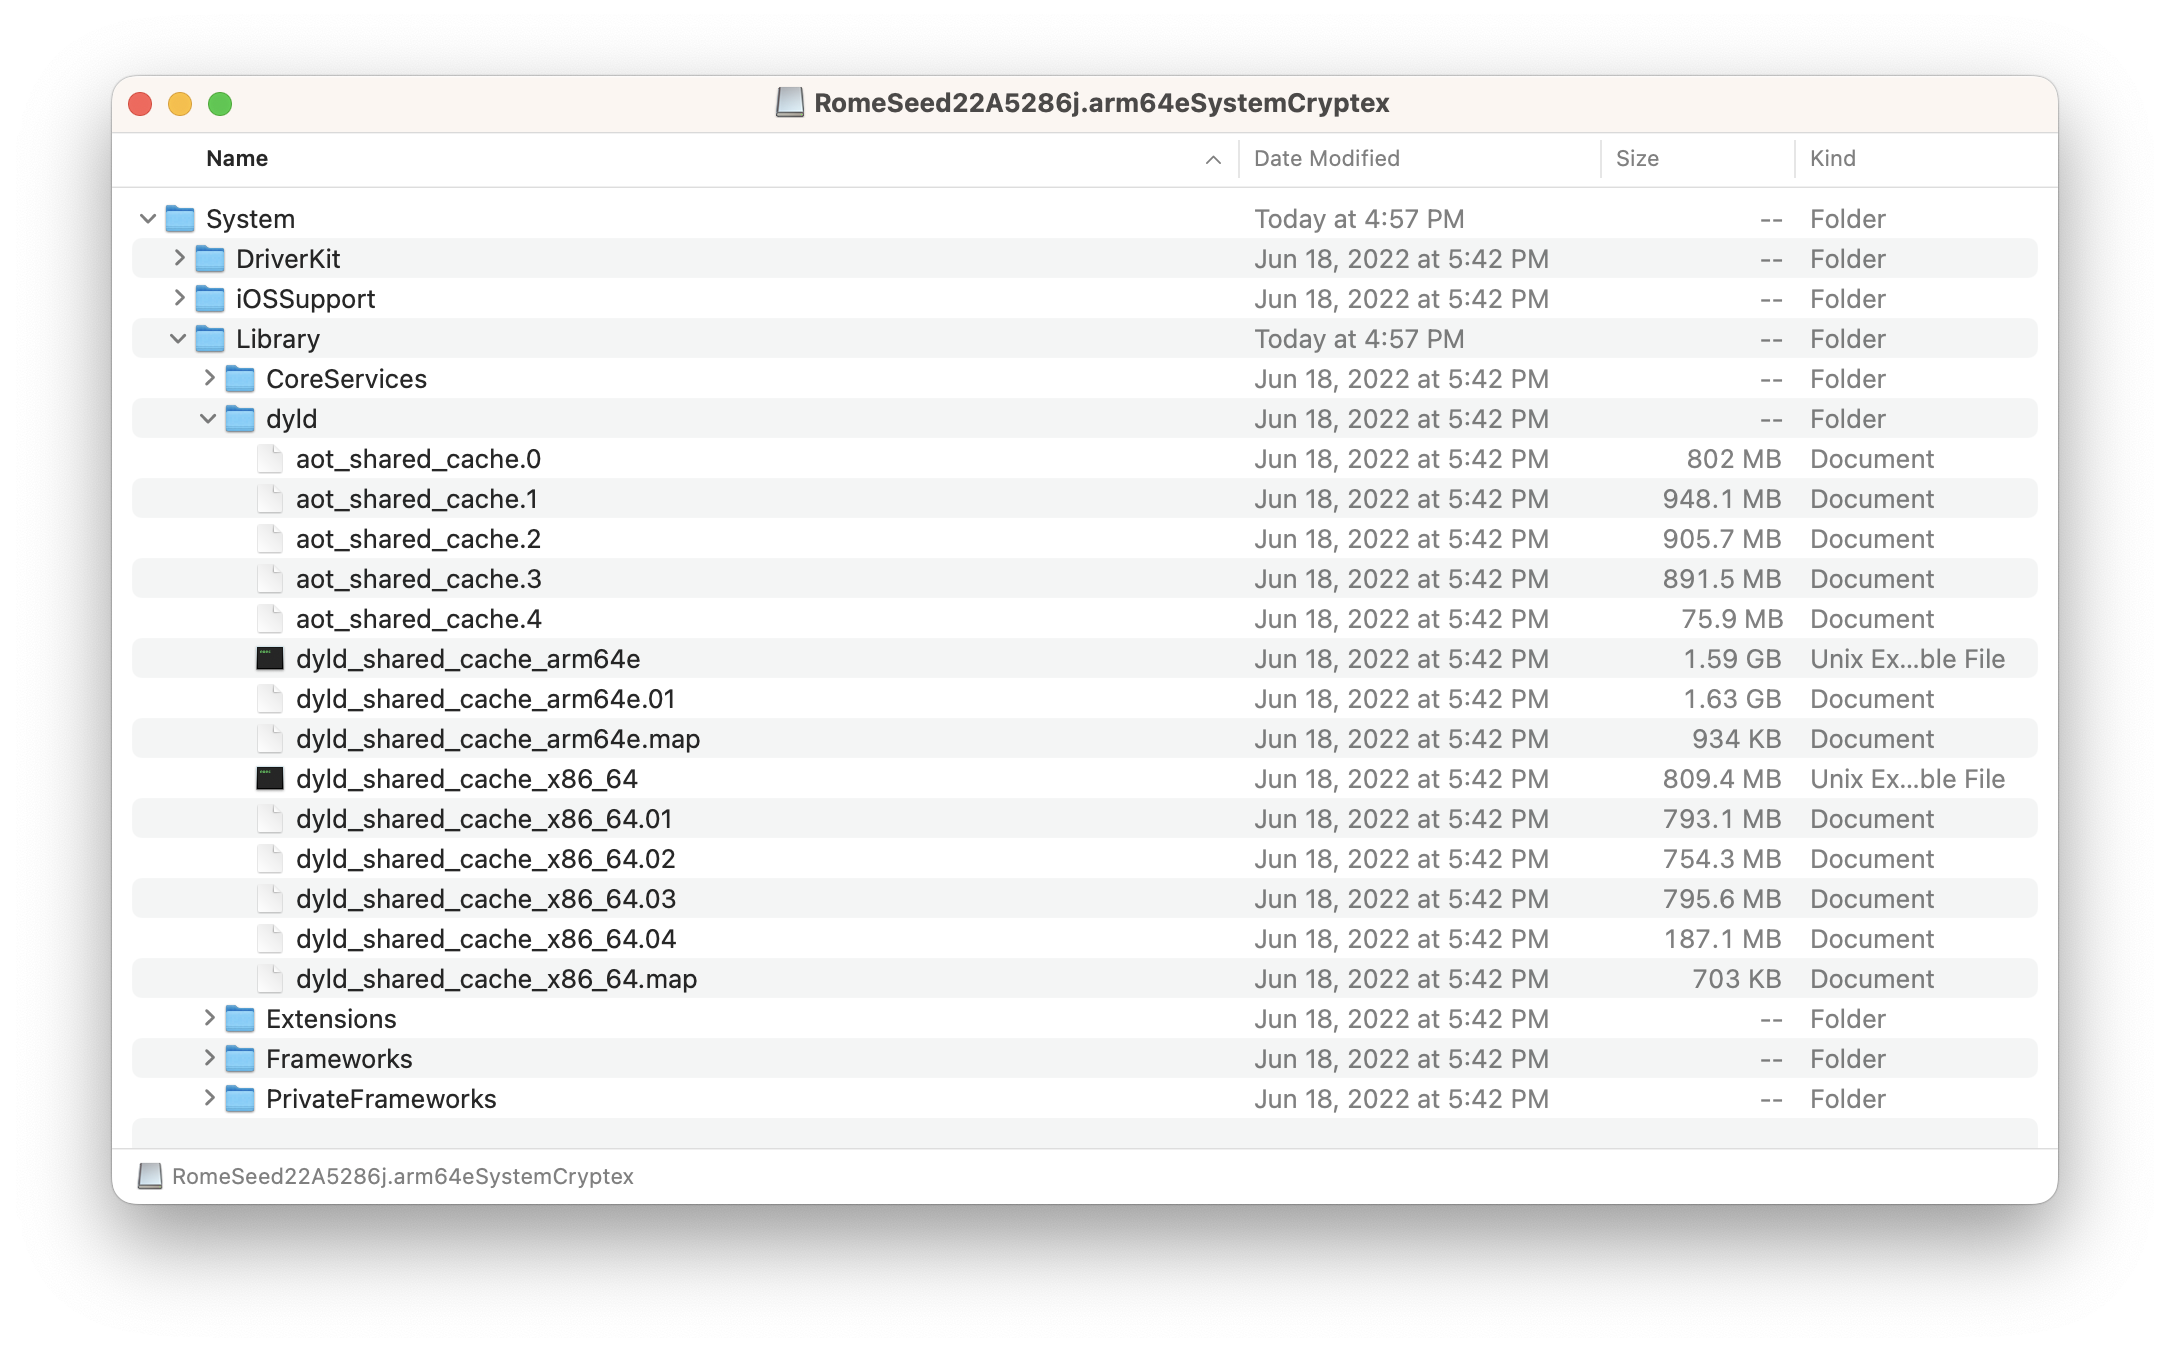
From these 2 disk images, we can see that the Intel install is quite trimmed down. This is due to Apple removing the pre-Haswell support with Ventura.
However, if we look at the Apple Silicon disk image, it still has the non-Haswell cache? Well, this is due to a limitation in Rosetta 2’s current implementation, where it cannot emulate/translate AVX2.0 code. So even though Apple removed pre-Haswell support on Intel, they’re forced to keep it unless they plan to give Rosetta some work.
Legacy hardware support
Now that we know the legacy cache still exists, does this mean we can boot Ventura on pre-Haswell hardware? The answer is kinda…
At the time of writing, most of Apple’s kernel space does not explicitly use Haswell-only code paths. However, userspace is another situation. The AMD graphics stack for example uses explicit x86_64h binaries, completely breaking pre-Haswell machines from using AMD GPUs natively.
However, if we ignore this limitation, we can actually use the Apple Silicon shared cache, and even boot it on Intel with some tinkering.
Discovered originally by ASentientBot, we can skip the OS.dmg verification by forcing _authenticate_root_hash inside of APFS.kext to return 0. Once this is patched, we can use whatever OS.dmg we’d like!
Some more info on how to extract and install the Apple Silicon cache is documented on the OpenCore Legacy Patcher repository:
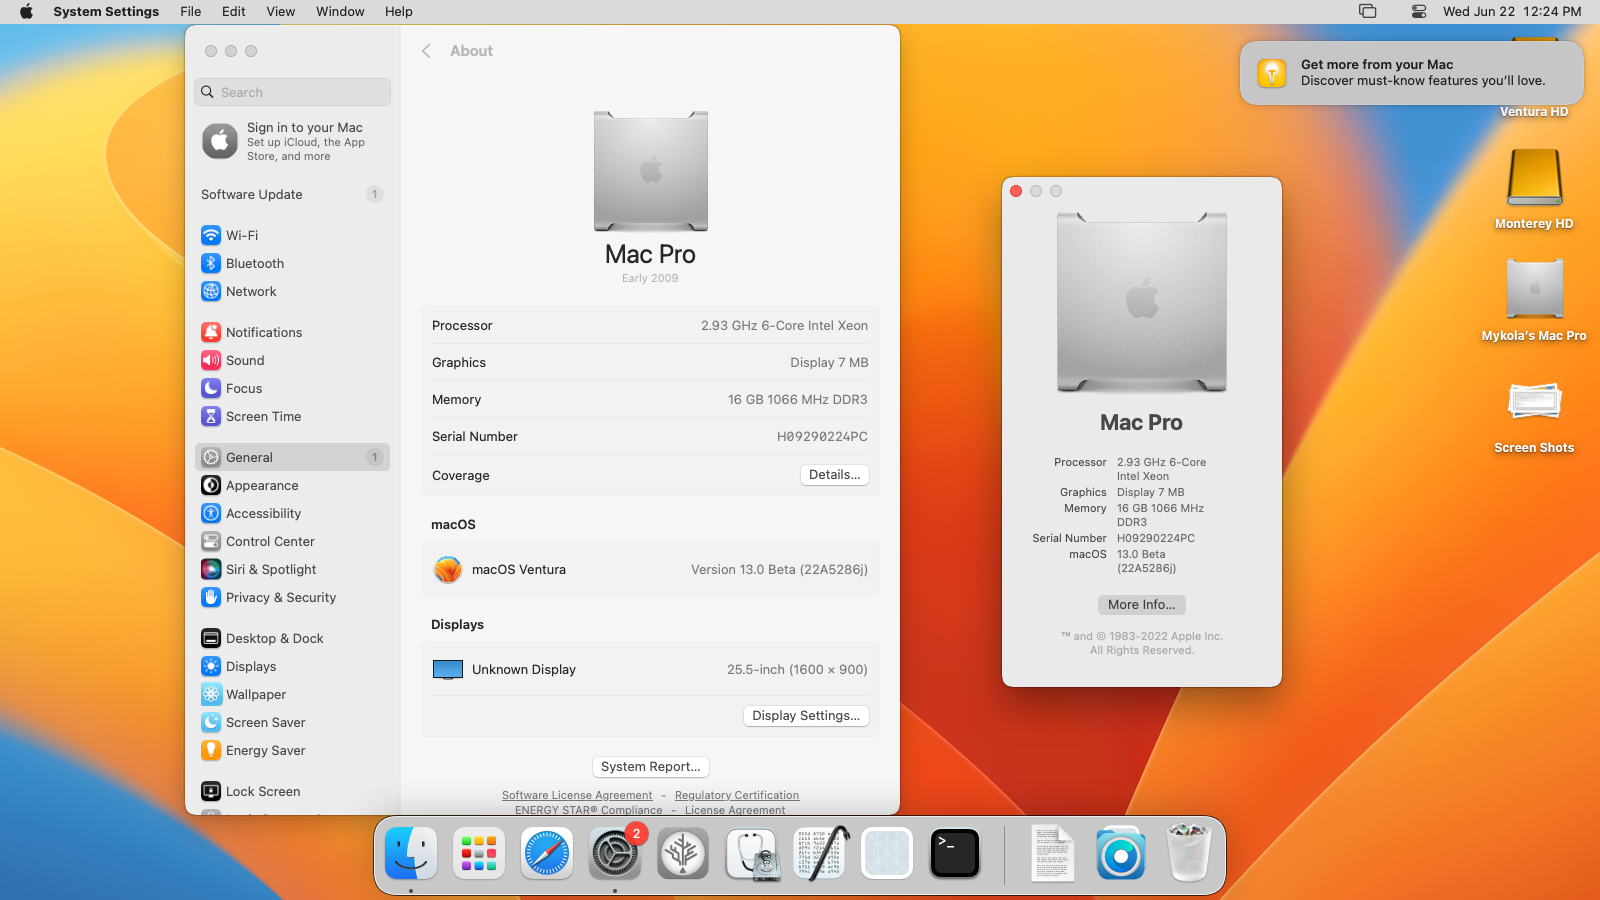
And from this, we were able to get hardware as old as 2007 running macOS Ventura Beta 1 and 2! This even includes the crowd favorite, the Cheese Grater Mac Pro!